
How to Convert HEIC to WebP on Mac
macOS cannot write WebP files, so Preview and Finder do not help. This is how to convert iPhone HEIC photos to WebP on a Mac with Kompressor or cwebp.
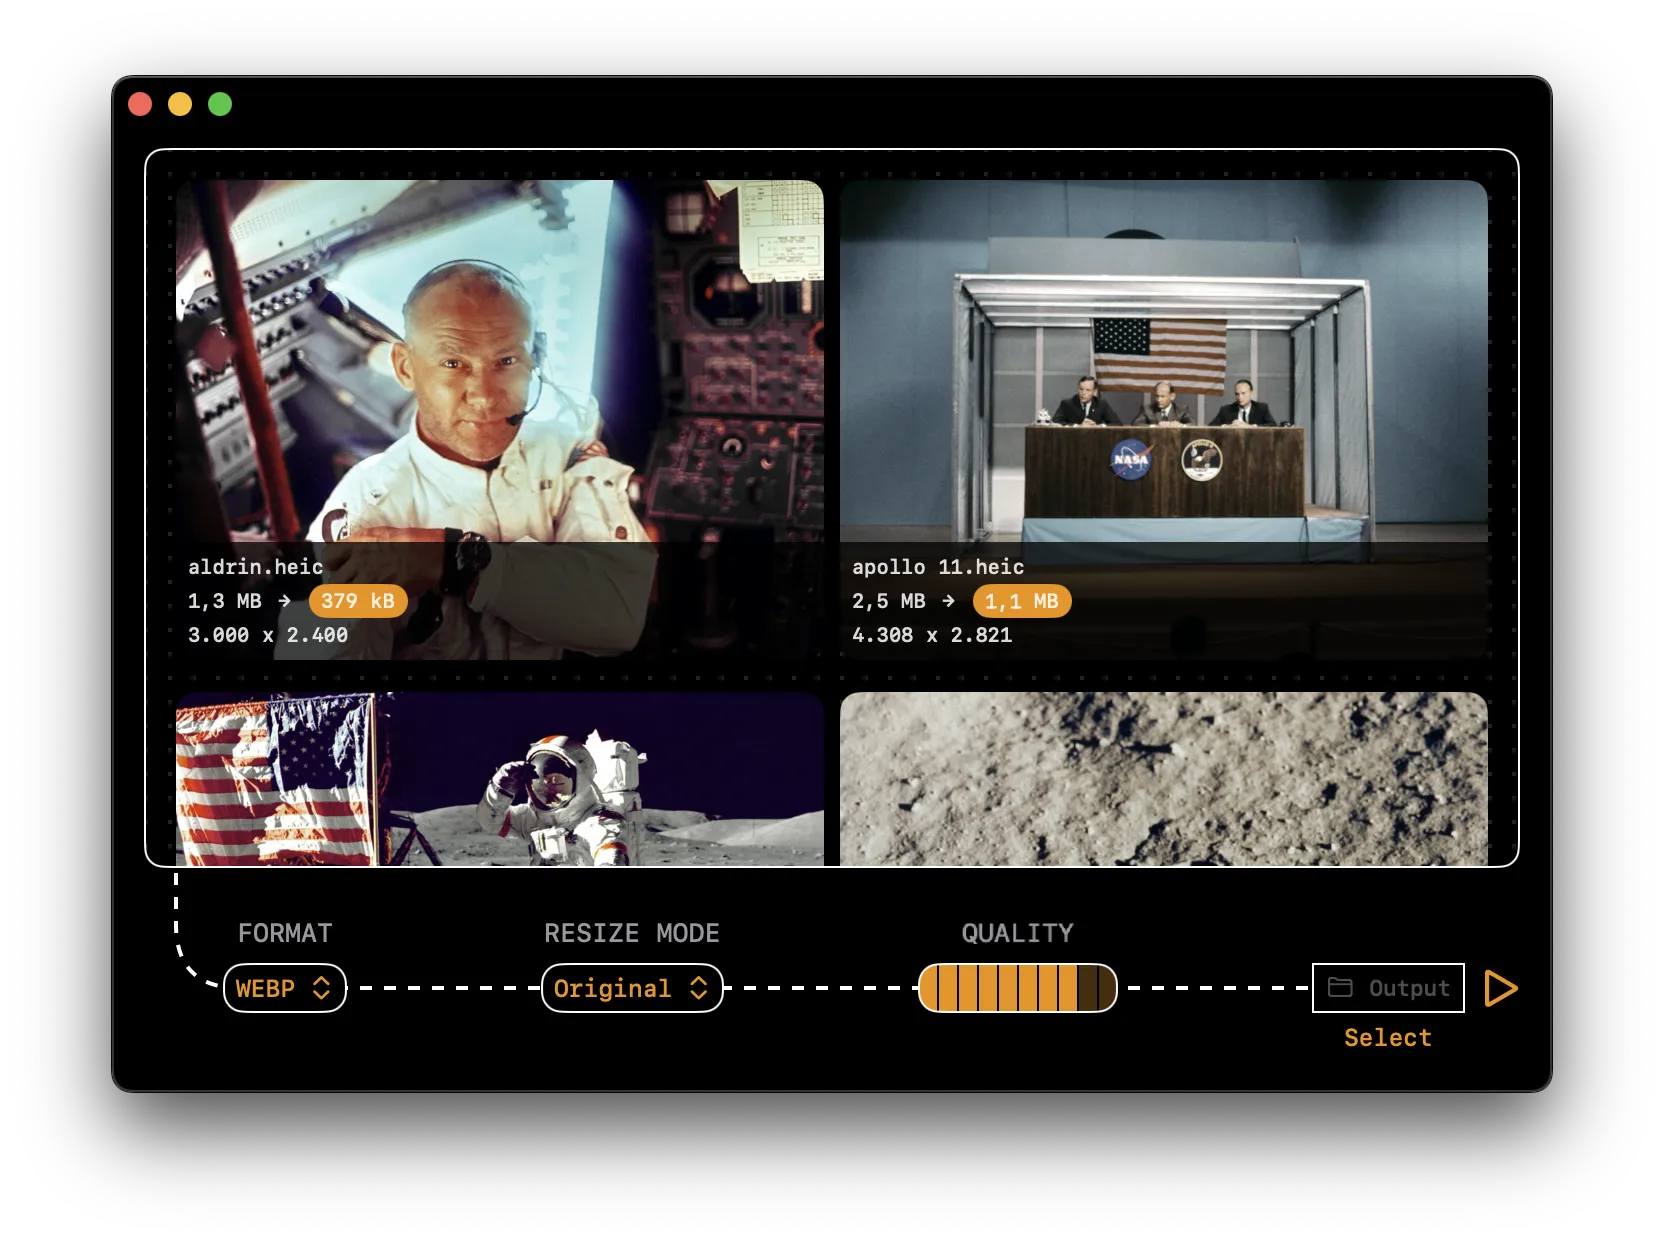
Steps
- Download Kompressor for Mac or get it on the Mac App Store
- Open the Kompressor app
- Drag and drop your HEIC image(s) into Kompressor
- Select WebP as your output format
- Adjust compression settings as needed
- Click on the ▷ (play) button to convert your HEIC image(s) offline
Kompressor is free to try: you get 3 conversions, and each conversion can include as many images as you want.
Why convert HEIC to WebP?
HEIC is a good format for the photo library on your iPhone, but not for websites: Chrome and Firefox do not display HEIC images. WebP works in all current browsers and makes smaller files than JPEG. Google reports that lossy WebP files are 25 to 34% smaller than comparable JPEG files. For the smallest files, see how to convert HEIC to AVIF.
That makes WebP a good target when your iPhone photos go on a website, a blog or an online shop.
Other ways to convert HEIC to WebP on Mac
Preview, Finder and sips cannot write WebP
The image encoder in macOS reads WebP, but it does not write it. For that reason Preview has no WebP option in its export dialog, the Finder Quick Action offers only JPEG, PNG and HEIF, and sips fails with WebP as the output format. You can check this on your Mac: run sips --formats in Terminal and look for the word "Writable" in the webp row.
Terminal (cwebp)
Google's WebP tools are available through Homebrew. cwebp does not read HEIC files, so sips converts the photos to PNG first:
brew install webp
mkdir png converted
sips -s format png *.heic --out png
for f in png/*.png; do cwebp -q 80 "$f" -o "converted/$(basename "${f%.*}").webp"; done
The file name pattern is case-sensitive. If the names of your files end in .HEIC, write *.HEIC.
cwebp gives you full control, but it converts one file at a time and has no preview.
When Kompressor is the better tool
Kompressor reads HEIC and writes WebP in one step, for one photo or for a folder of them. You do not need the Terminal, and you see the result and its file size before you convert.
Which quality setting to use
Kompressor shows quality as a bar with ten steps, from 10% to 100%. The default is 80%, and it is a good start for photos. Before you convert, open the compare view: drag the slider across the image to see the original next to the result, with the real output file size. Lower the quality until you see a difference, then go one step back.
Questions
Do all browsers support WebP?
All current versions of Safari, Chrome, Firefox and Edge display WebP. Safari supports it from version 14 (macOS Big Sur).
Should I resize the photos too?
For websites, yes. An iPhone photo is 4032 pixels wide or more, and most websites show images at 2000 pixels or less. Set a maximum long edge in Kompressor to resize and convert in one step.
Is the location of my photos removed?
Yes. Kompressor does not write the location or other metadata into WebP files.
More Guides
- How to Batch Resize Images on Mac
- How to Compress Images on Mac
- How to Convert AVIF to JPG on Mac
- How to Convert HEIC to AVIF on Mac
- How to Convert HEIC to JPG on Mac
- How to Convert HEIC to PNG on Mac
- How to Convert JPG to AVIF on Mac
- How to Convert JPG to HEIC on Mac
- How to Convert JPG to WebP on Mac
- How to Convert PNG to AVIF on Mac
- How to Convert PNG to JPG on Mac
- How to Convert PNG to WebP on Mac
- How to Convert RAW Photos to JPG on Mac
- How to Convert WebP to JPG on Mac
- How to Convert WebP to PNG on Mac
- How to Remove EXIF Metadata from Photos on Mac